So, if you’re like me, then you have about thirty T-shirts you no longer wear but don’t want to get rid of, because they have meaning or sentimental value, or whatever. Solution: up-cycling! Pinterest is crazy awesome for tutorials on new fun ways to destroy your old shirts and turn them into something cool and useful.
My best friend late last night asked if I wanted to do this particular up-cycling on an old festival shirt and turn it into a tote bag. So I decided that it would be fun to show the Internet how to do this super simple and nifty craft (and sewing isn’t required!).
Without further ado, D.I.Y. T-Shirt Tote Bag Tutorial!
What You Need:
- A cool, old t-shirt
- Some fabric scissors
- Opposable thumbs

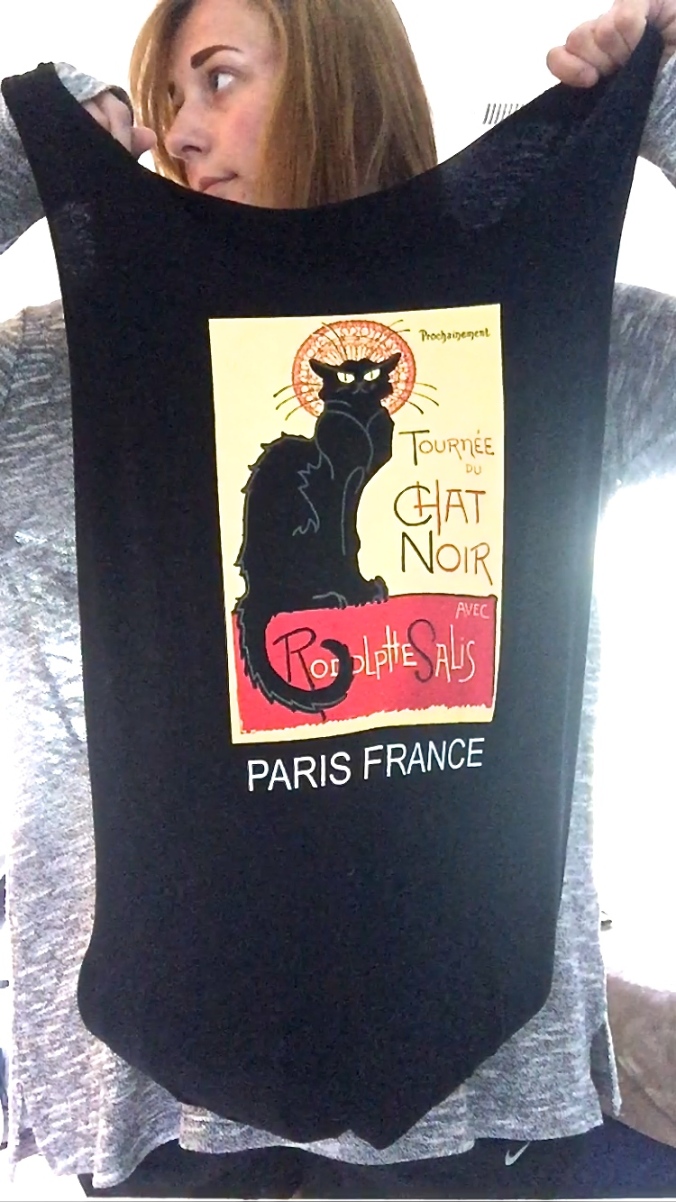
Last summer I got to travel in Europe for about three weeks, and came back with about six different shirts. This Parisian cutie became my second victim (after the Music Midtown ’14 cotton friend).
Step One:
Start off by laying out your shirt. Iron it if you have to. It’s important to smooth it out as much as you can.
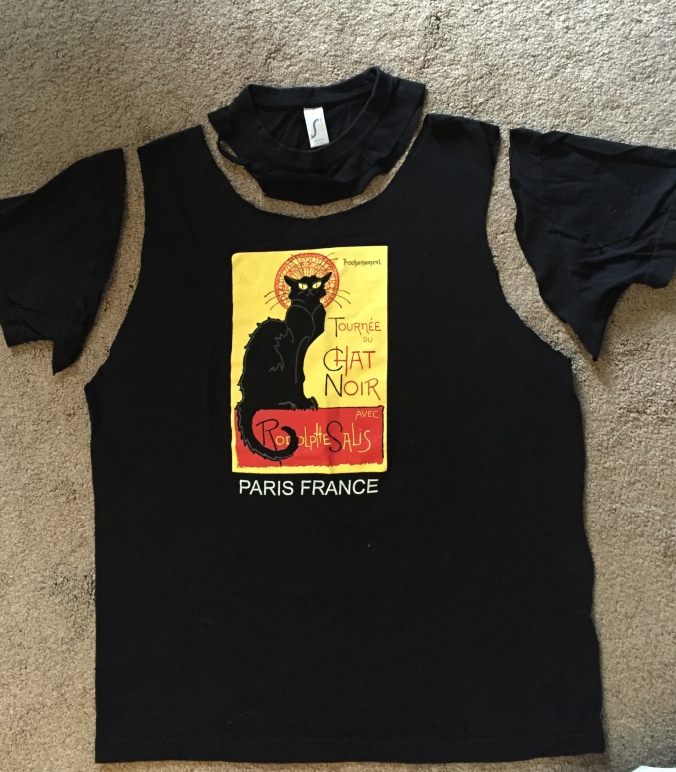
Step Two:
Next, use the fabric scissors to cut off the collar and both sleeves. Basic muscle tee cuts. Try to keep them even if possible.
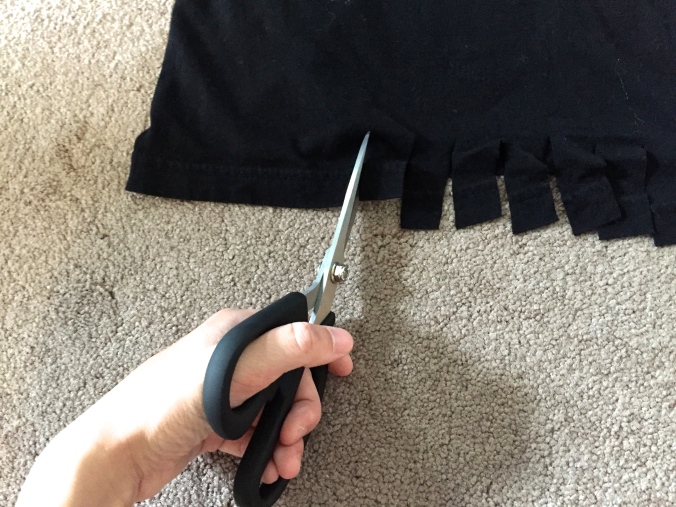
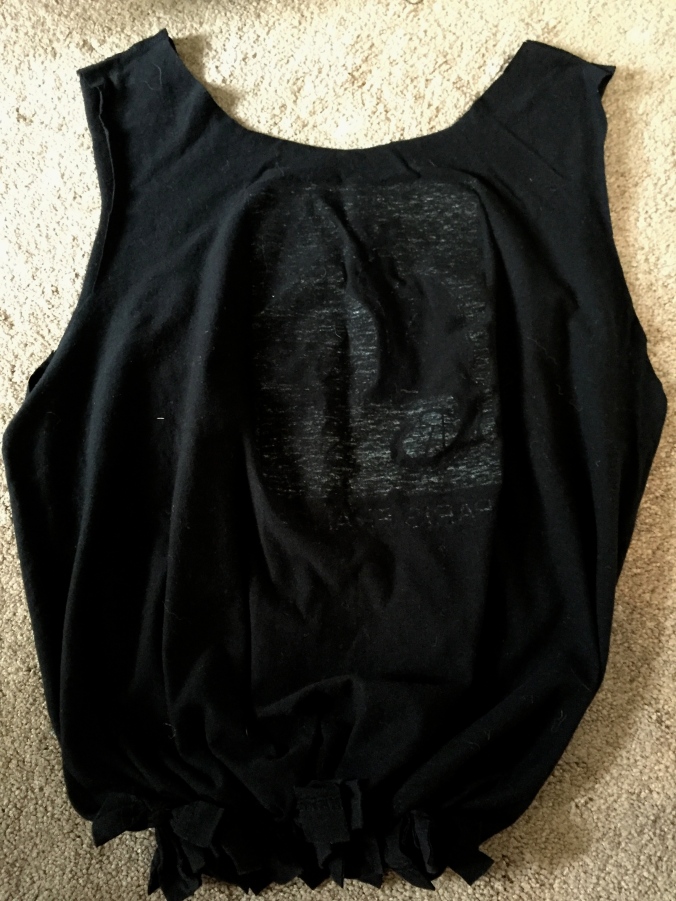
Step Three:
Cut between one or two inch strips all along the bottom seam of the shirt. For reference, see below.
Step Four:
Alright friends, now we are getting there. Next step: turn that bad boy inside out. Lay flat and straighten out again.
Step Five:
Using your opposable thumbs, tie the strips together. I did the ones that are diagonal across from each other, mostly because I figured that would be of better support for the tote bag, and also I don’t listen to The Man and his societal teachings.
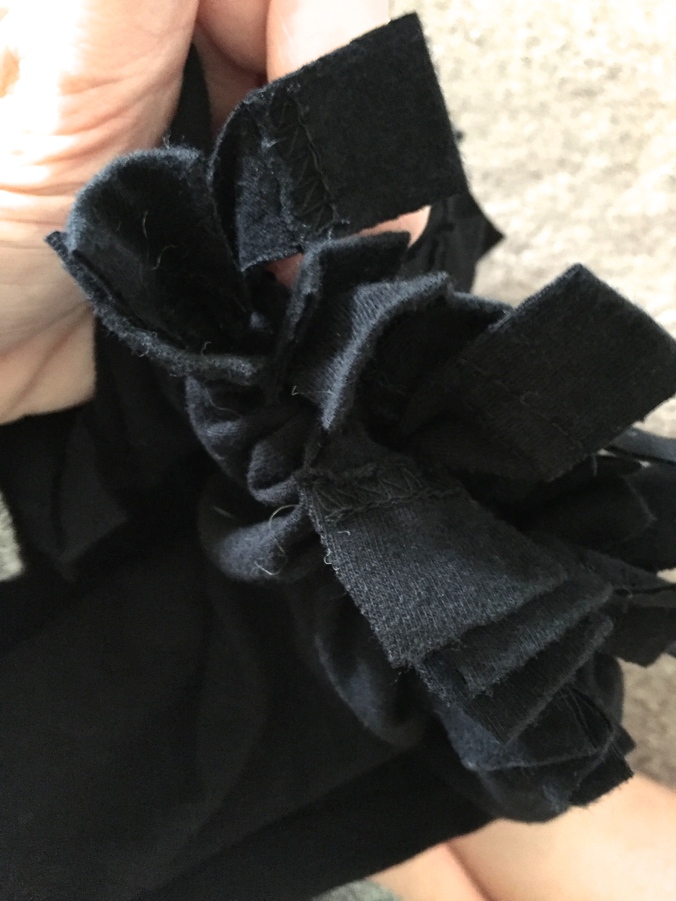
 After completing your ties and having a quick rant about how you don’t apply to “the system,” your bag should look a little like the picture above.
Step Six:
Next step! Pay attention. This one is really hard. Turn the cloth right side out.
Step Seven:
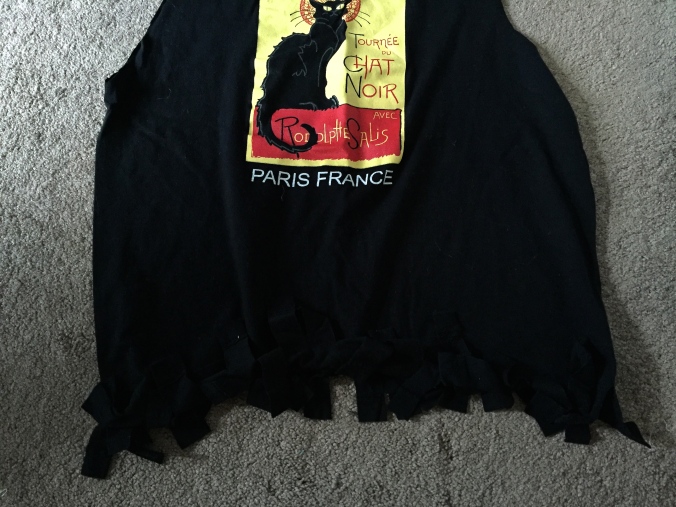
Make sure no strips of cloth are sticking out. There are usually some that escape your grasp. Enforce punishment by stuffing them back through the depths from which they came (into the holes along the bottom). And then re-tie the loose ends with other knots.
Here’s what the bottom of the bag should look like once you’ve turned it right side out.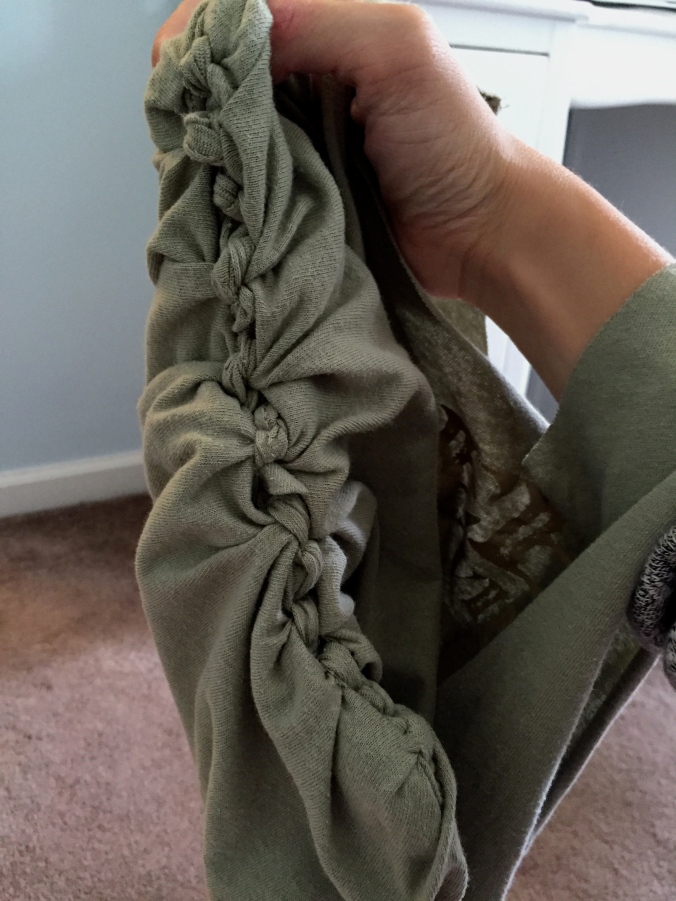
Step Eight:
Enjoy your new tote bag!
Here are the two that I made this afternoon. It took me ten minutes tops! I thought they would be especially cool to take to places like your local Farmer’s Market and whatnot.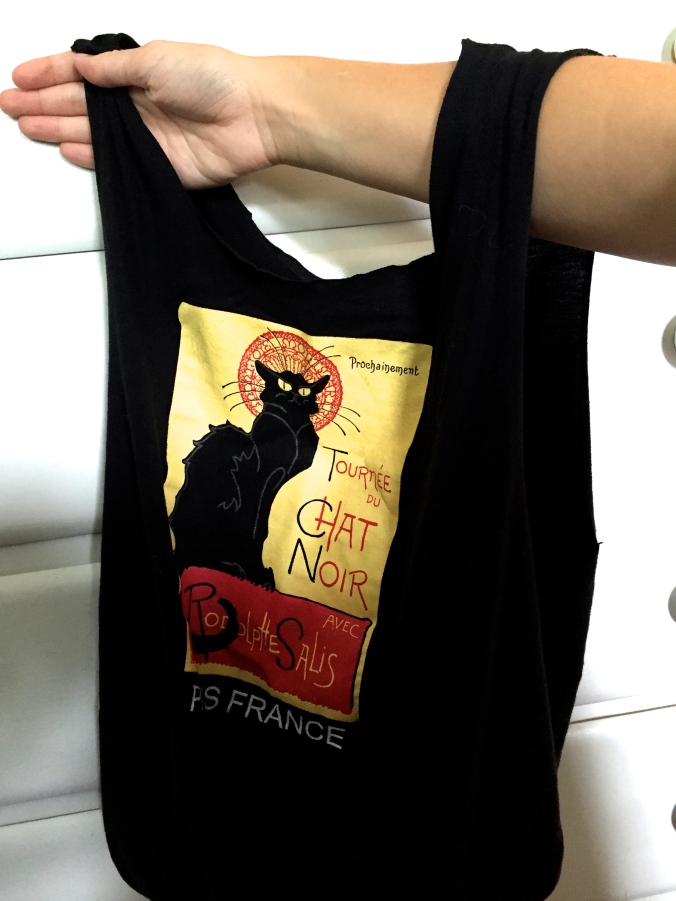
 Glad I did thing today. Hope you did thing today too. See soon. Thank for reading.


